Jul 17, 2013

SIPtG Turns One!

Just a quick announcement: Today is the blog's first birthday!

Let's all wish the blog a happy birthday.

(Is it weird to wish a blog a happy birthday? Yeah? Oh well.)

Happy birthday, SIPtG!


Anywho, I just wanted to say thank you to all the readers and folks who've left comments. I've enjoyed documenting my hobby work over the last year and appreciate that there are people out there who want to read about it.

Also, the last year has seen a few milestones:
  • In May, the blog hit 1,000 total pageviews, and
  • Since April 20, the blog has received at least one pageview a day.

I know this is small potatoes to most, but I'm happy with the little corner I've carved out on the internet.

If you haven't already noticed, I'm an excruciatingly slow painter. My initial intentions of updating the blog on a weekly basis quickly fell by the wayside, as my generally meticulous nature became doubly so when painting miniatures.

I've been working at getting faster and I hope to bring you more than the sixteen posts I wrote over the last year by July of next year.

Speaking of the next twelve months, I'm planning on finishing up the squadron of Grot Tanks I've begun; completing enough Cawdor models to field a legal gang in a game of Necromunda; and dabbling a little in Oldhammer.

So until next time, keep painting!

Jun 11, 2013

New Stuff: Games & Gears Pro Studio Brushes

Last fall I took the plunge and backed my first Kickstarter campaign. Since then, I've pledged support for a few more.

One of the more recent campaigns I've backed was Games & Gears' Pro Studio brushes. A few weeks ago, I received my order:


I pledged at the £25 level and received a total of nine brushes, as pictured above.

This included the Core Set, which consists of brushes in sizes 000, 00, 0, 1 and 2:


As well as the stretch goal rewards of the 3LX, 4RX, and the S1 and S2 specialist brushes:


All of the brushes are sturdily constructed with big, thick handles. The Kolinsky sable hair bristles are strong and snap back with good resiliency. Also, the bellies provide an adequate reservoir for dispensing paint.

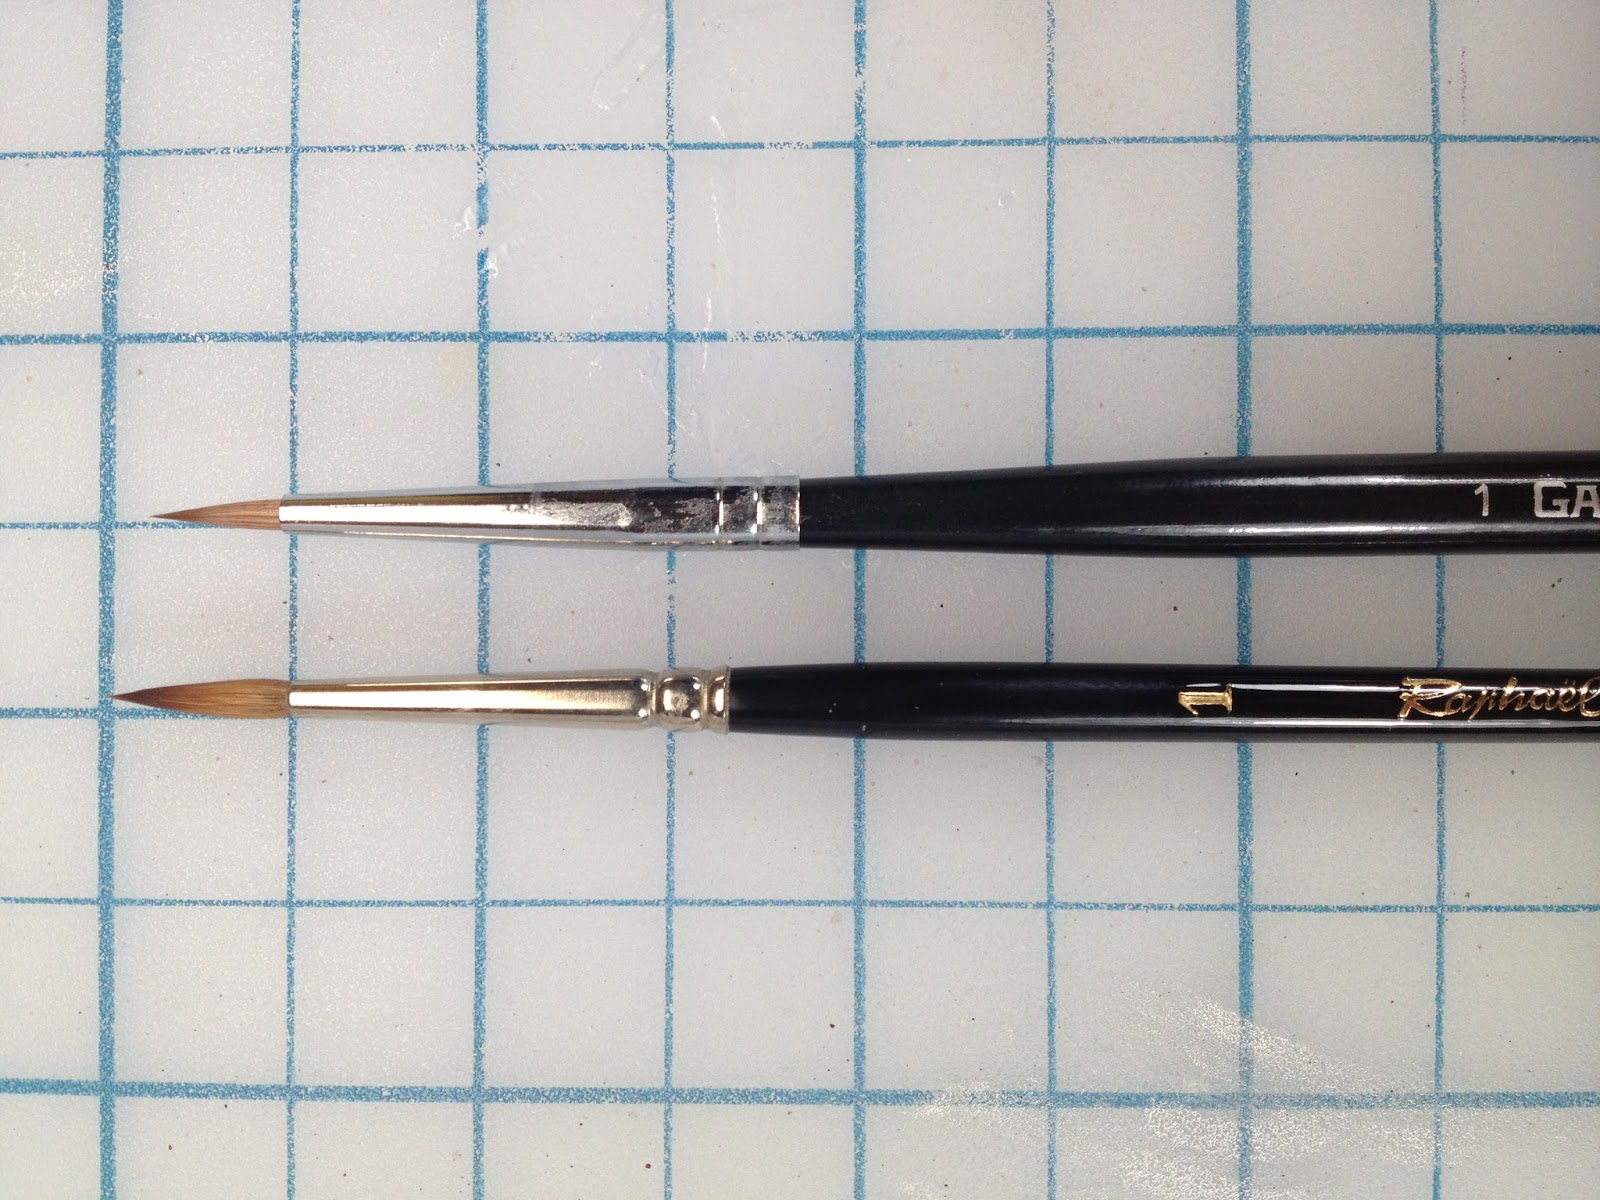
Interestingly, compared to the Raphael 8404 brushes I regularly use, the Pro Studio brush heads are noticeably smaller:


I don't know exactly what this will mean performance wise, as I've only been able to play around a bit with these Pro Studio brushes, but I'm excited to start using them.

I think the dual heads will be helpful in blending better highlights, and I'm looking forward to trying my hand at wet blending. After a little more experience with them, I'll be able to give a more thorough review.

Next up: An actual update on the basecoating and shading of the Grot Tank.

So until next time, keep painting!

May 29, 2013

WIP: Cawdor Gang 2 Basecoat & Shading

Switching from Grots to gangers, here's the latest WIP shot of my two newest Cawdor gang initiates:


The above photo shows the two after a basecoat and shading.

While using the airbrush to lay down a basecoat on the Grot Tank, I thought I might as well use it to put paint on these two as well:


PROTIP: Always properly dilute your paints (about the consistency of skim milk) before putting them through an airbrush.

I got lazy toward the end of the airbrushing session and failed to properly dilute my paint. The Vallejo Model Color (VMC) Burnt Cadmium Red (814) was the worst, as you can tell by the splattering in the photos above, and it ended up giving the airbrush a nasty clog that took a couple of days to properly clear out.

I tidied everything up with some brushwork:


These are the first gang members I've painted that are wearing undershirts. I initially went with VMC Burnt Cad, as you can see in the airbrushing photos, but decided it was just too much red. So, I did them up in the same color as their brethren's tank tops: Vallejo Game Color (VGC) Khaki.

I also simplified some of the paint formulas from the first batch of gang members. I dropped the VMC Red (926) from the pants and removed the Citadel (GW) Rotting Flesh from the skin mix. The changes saved time and won't alter the final look of the models.

Finally, I made sure to completely basecoat both models before moving on to shade them:


There's still work to be done on the Dragon Forge Design bases before I can move on to highlighting and weathering, but these two gentlemen are coming along much faster than the first group.

For details on basecoating and shading, see here, here, and here.

Next up: Basecoating and shading the Grot Tank.

So, until next time, keep painting!
Related Posts Plugin for WordPress, Blogger...